Nowadays, it’s quite difficult to physically go to the bank to stay updated with your Bank account and stuff due to our busy work schedules. A lot of people don’t usually get the time to stand in the long queues at banks to stay updated with their bank account. That’s why almost all the banks in India have introduced Internet Banking facility for their customers. Internet Banking is actually a convenient and probably the fastest way to stay most updated with your bank account anytime and from anywhere in the world. You can easily access and manage your bank account at any time regardless of your location.
You don’t have to be present at the bank to carry out the transactions or fill out the forms and submit. All you need is just a smartphone or laptop or computer and an active internet connection to manage your bank account at any time. The good thing is that you don’t have to bear any service charges or fees for using the Internet Banking service to carry out transactional and non-transactional activities. You can do a lot of stuff using Internet Banking such as check your Bank Balance, order checkbook, check transaction history, fund transfers etc.
How To Register/ Activate Indian Bank Netbanking Online?
In order to successfully register for Indian Bank Netbanking through online, you need to have your Bank Account Number, the Mobile number which is linked with your bank account in Indian Bank, the Email address which is registered with your Bank account, and the ATM card associated with your Bank account. Also make sure your ATM card is in the active stage, otherwise, head over to your nearest ATM and make a transaction to activate your card.
You can continue the process if you have all the above things ready with you.
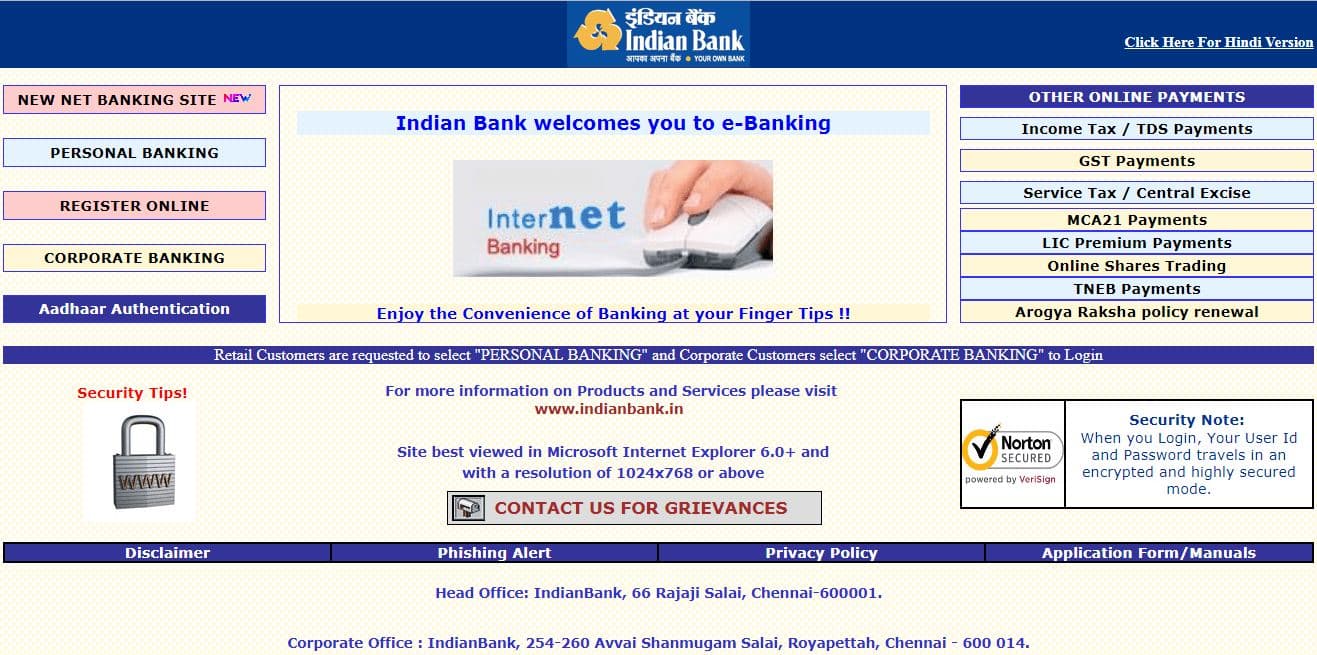
Step 1: Head On To Official Indian Bank Website
- Use the given link to directly visit the Official site of Indian Bank Netbanking Registration.
- On the homepage, you will find various options related to Internet Banking services.
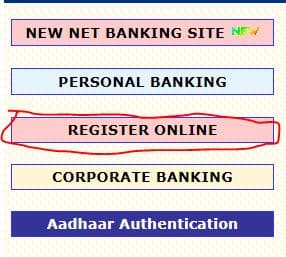
- Just select the “Register Online” option which will be located on the left side of the screen.
Step 2: Indian Bank E-Banking
- As soon as you click on the Register Online option, you will be taken to the next screen where you will be asked to enter the CIF number of your Bank account.
- You can find the CIF number of your bank account on the passbook and checkbook of your bank account.
- Now enter the mobile number which is’ registered with your Bank account in the Indian bank. Make sure the number is working fine and able to receive the text messages.

Step 3: Verification Of Mobile Number
- After entering the mobile number, on the next screen, you will be asked the OTP code in order to verify you’re the rightful owner of the Bank account.
- You will receive the One Time Password code on your Registered Mobile Number within a few seconds.
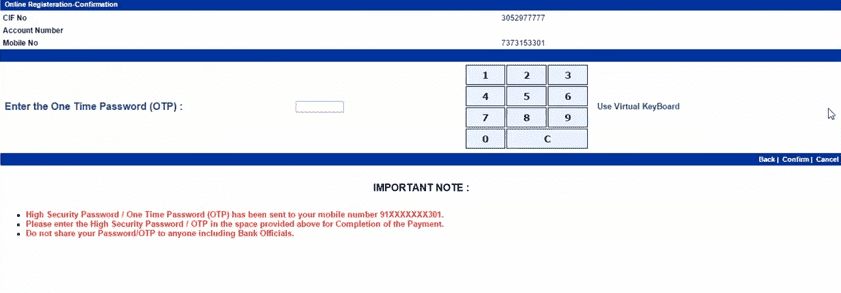
- Enter the code correctly and submit to proceed further. In case, if you enter the OTP incorrectly multiple times, you may face a temporary lock which will not let you register for Netbanking online for a certain period of time.
Step 4: Select the type of Facilities You Want
- On the next screen, you will find your Account details along with your Email address, branch id, and code which means you’re successfully verified.
- In case, if you don’t see your account details on the screen, it means you haven’t passed the verification process and you must be doing it all over again.
- On the bottom of the screen, Select “View & Transact Facility” option under the “Type Of Facility” menu. Now just click “submit” to continue.

Step 5: Create a Strong Login Password For Your Netbanking
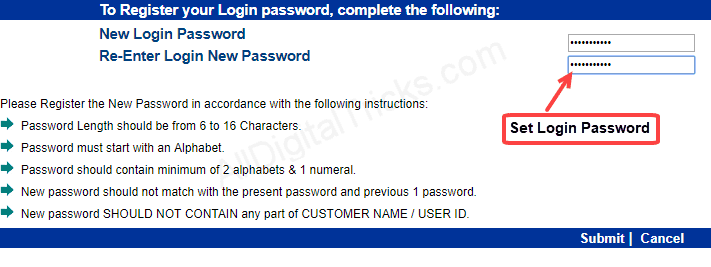
- Once you get past the “Facilities” screen, you will be asked to create a login password for your Netbanking account in Indian Bank.
- In order to create a strong and secure password, make sure the password length is minimum 6 to 20 characters which should include at least 2 alphabets and 1 numeral.
- Also, make sure that your password doesn’t contain your account number or CIF number. Otherwise, it would get rejected.
Step 6: Select Security Questions And Set Answers
- At this point, you will have to select two security questions out of four and enter the answers for it in the respective fields.
- Make sure you note the answers to your security question somewhere safely. It’s like a backup, if you ever reset your Netbanking account, you will be asked to go through the security questions which you have selected while registering.
- After entering the answers, just click on “Submit” and proceed further.
Step 6: Enter Your Debit Card Details
- On the next step, You will have to enter the details of your ATM card/ Debit Card to finish the registration process for Netbanking.
- Enter the 16 digit card number, Expiry date and PIN of your Card and click on “Submit”
- That’s it, that’s pretty much all you have to do to in order to finish the registration process.
Now you have successfully Registered for Indian Bank Netbanking through online method. You don’t have to visit the branch physically nor submit any forms to activate your Netbanking account. After following this method, you can log in to your Netbanking by entering the User Id and password of your account. Just make sure you enter your Netbanking details only on the official site of Indian Bank.
Conclusion:
Anyone with a bank account in the Indian Bank can use this method to activate or register Indian Bank Internet Banking services without any charges. However, make sure your account is not in the dormant stage, otherwise, you won’t be able to register for the Netbanking service. In case, if you’re stuck somewhere during the process, let us know in the comment section.

